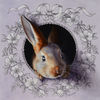
You Crack Me Up: Making Crackle Effects With Glue
-

- January 1, 2012
- Gabriela Salazar
Use white glue and paint to make crackle effects. It’s simple, but offers a cool look!
You’ve probably heard the song, “Everything has its season, everything has its time…” Well, paint is no exception. Inherent in every painting medium is its drying time.
Placing a faster-drying substance over one that dries more slowly will cause the surface to crack as the wetter base layer continues to shift, expand, and contract while drying. (Imagine the fissures that appear on the earth’s surface after a drought.)
Any white glue is a great base for creating this effect.
*First, it dries from the outside in, meaning, a top layer (or “skin”) will start to dry before the paint does. This allows you to paint over the surface without disturbing the still-drying glue underneath.
*Second, white glue dries brittle, which enhances the cracking effect of whatever you put on top.
*Third, it dries clear, which is a great if you want the color or pattern of the paper underneath to show through your crackle. (You can also tint the glue with a little watercolor pigment prior to painting, if you want some translucent color.)
To start, you will need a good heavyweight paper or board as a substrate. Thinner papers can be used, but be aware that the water in the glue will make the paper buckle as it dries. This can not only affect the crackling, but also make the paper more difficult to work with afterwards.
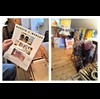
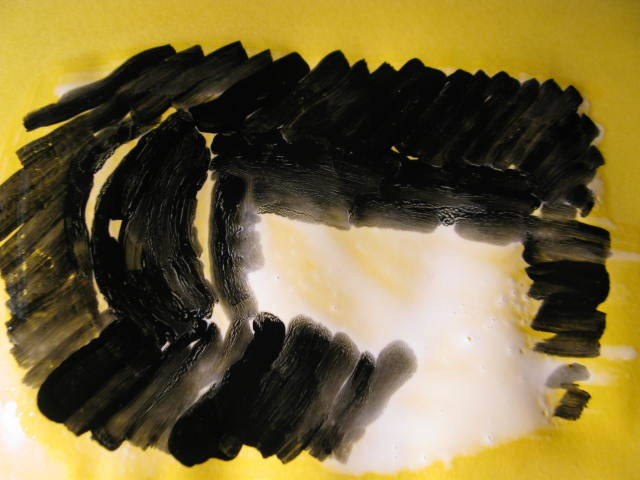
Paint the glue over the area where you want a crackle (as seen in Photo 1). A thin layer of glue will produce fine cracks, while a thicker layer will create more dramatic crevices. Let the glue dry a little bit (so it’s tacky enough to paint on top of) before moving on to your surface coat.
For the surface treatment, the best paints to use are temperas, gouaches, and acrylics. Tempera paints have very little binder, which allows the glue to really create rifts in the chunks of paint. Whichever medium you choose, take the time to do a test run before painting your final surface, as all brands and kinds of paint will have their own idiosyncrasies.
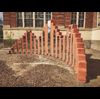
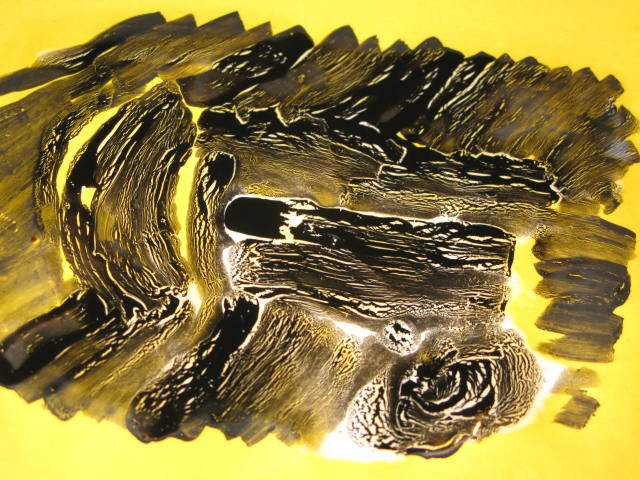
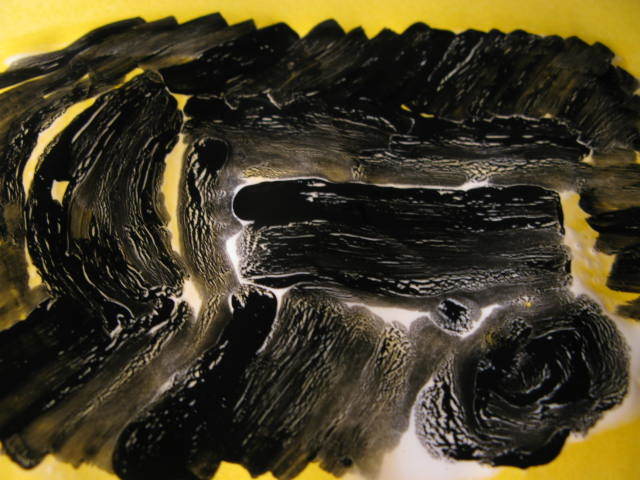
As you paint, it’s important to try to keep the top coat from mixing with the glue underneath. Your surface coat should really be skimming the surface of the glue, resting on top of it (as seen in Photo 2). Experiment with the direction in which you paint the surface layer: varied brushstroke directions will affect the direction of the cracks (as seen in Photo 3).
If, after painting, cracks are not forming fast enough, you can use a blow dryer or a heat gun (held far away) to speed up the process. Keep the heat moving continuously over the surface to keep the paper from burning and keep the glue and paint from giving off fumes.
As you become experienced with crackling, you can try out different combinations of mediums. There are some amazing effects with resins and enamels as bases. Likewise, you can make whole sheets of crackle to cut up for collage.
Once you know how to make crackles, you’ll know how to avoid them. That age old painting mantra—to “paint thick over thin”—is based on the fact that thick layers of oil paint take a long time to dry. Letting the foundation dry completely (or adding driers, like turpentine) before layering on more paint will keep cracks from forming and permanently compromising the finished surface.
Photos Courtesy of Gabriela Salazar