Pushing Your Limits
-

- February 3, 2015
- Krystal Drexel

Do you ever feel like you're in an artistic rut?
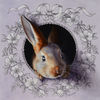
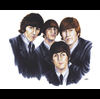
It's easy enough to become complacent with your style over time and to stop striving to improve the way you once did when you were eager and first learning the ropes. Become too complacent in your skill level though, and you'll find it's hard to break through that rut when you finally do decide you need to take your art up a notch (as seen in photo 1).
What can you do to take your art up to the next level? Here are some projects and tips to help you level up--artistically.
It's extremely common to have trouble drawing things in a photo realistic manner. Perhaps some artists just can't get the details quite tight enough, or their bodies and faces are disproportionate and consequently look unnatural or awkward. However, it's a lot easier to become proficient at drawing photo realism than many people like seem to assume. All the little pieces add up, and the final product looks overwhelming. Meaning your greatest obstacle is merely starting at all. So, let's start small. It's the details, after all!
Start with an outline, and then stick to it. I commonly see people draw the outline of the human face, then scrap it because it looks oddly figured, which is super sad because that's just what faces looks like when you haven't added any sort of shading or details. Trust me, shading makes a huge difference. Start with an outline of the entire shape or all the shapes you plan to incorporate in your drawing, and then start adding shadows and highlights.
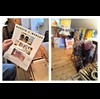
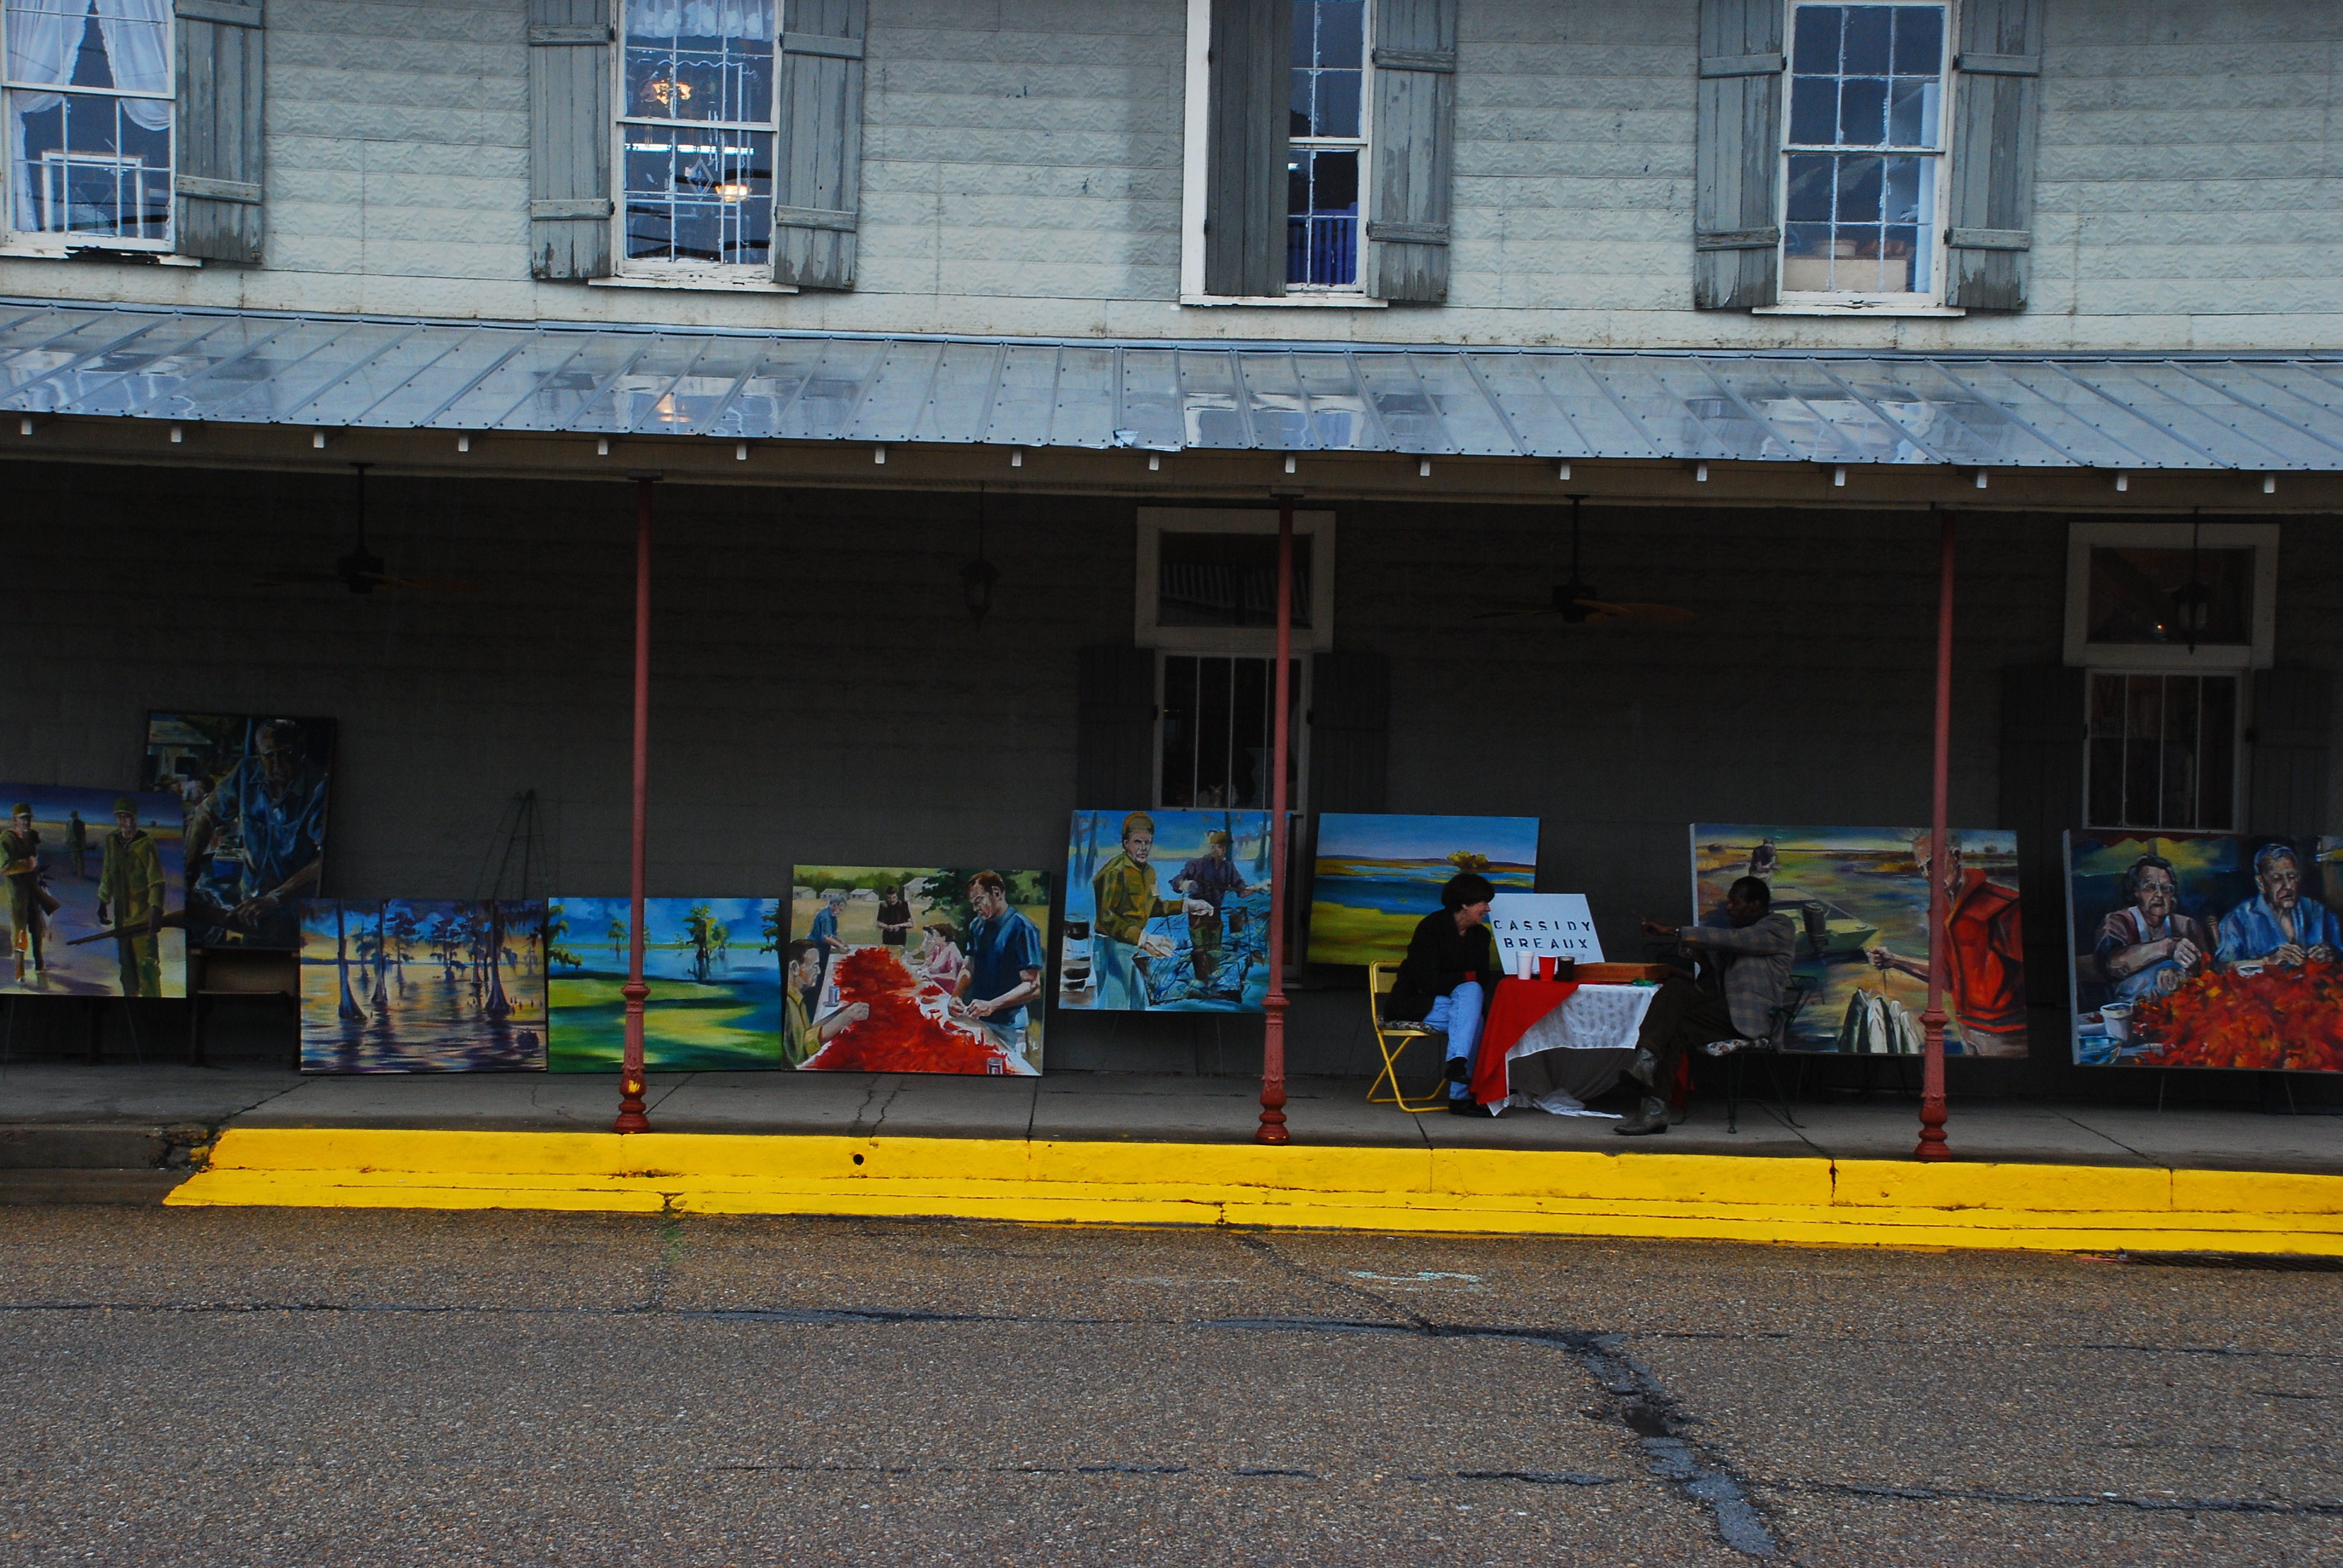
If you're not sure about where shadows should be placed on the human face, try this neat plane drawing exercise to get a better idea of the dimensions of the human face (as seem in photo 2). Find some old magazines, and practice drawing the planes of the face right on the page, using the magazine photo as a guide. This will help you learn to visualize the planes even when they're not drawn in.
You can also use a similar technique to learn the shapes of the body, and to gain a better understanding of anatomy and fore-shortening. Tracing cylinders and boxes over full body images can help you understand how to draw realistic poses and anatomy (Check out this cool little tutorial on foreshortening I found by DeviantART user Nsio here: http://nsio.deviantart.com/art/Nsio-explains-Foreshortening-427366531.
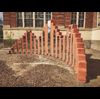
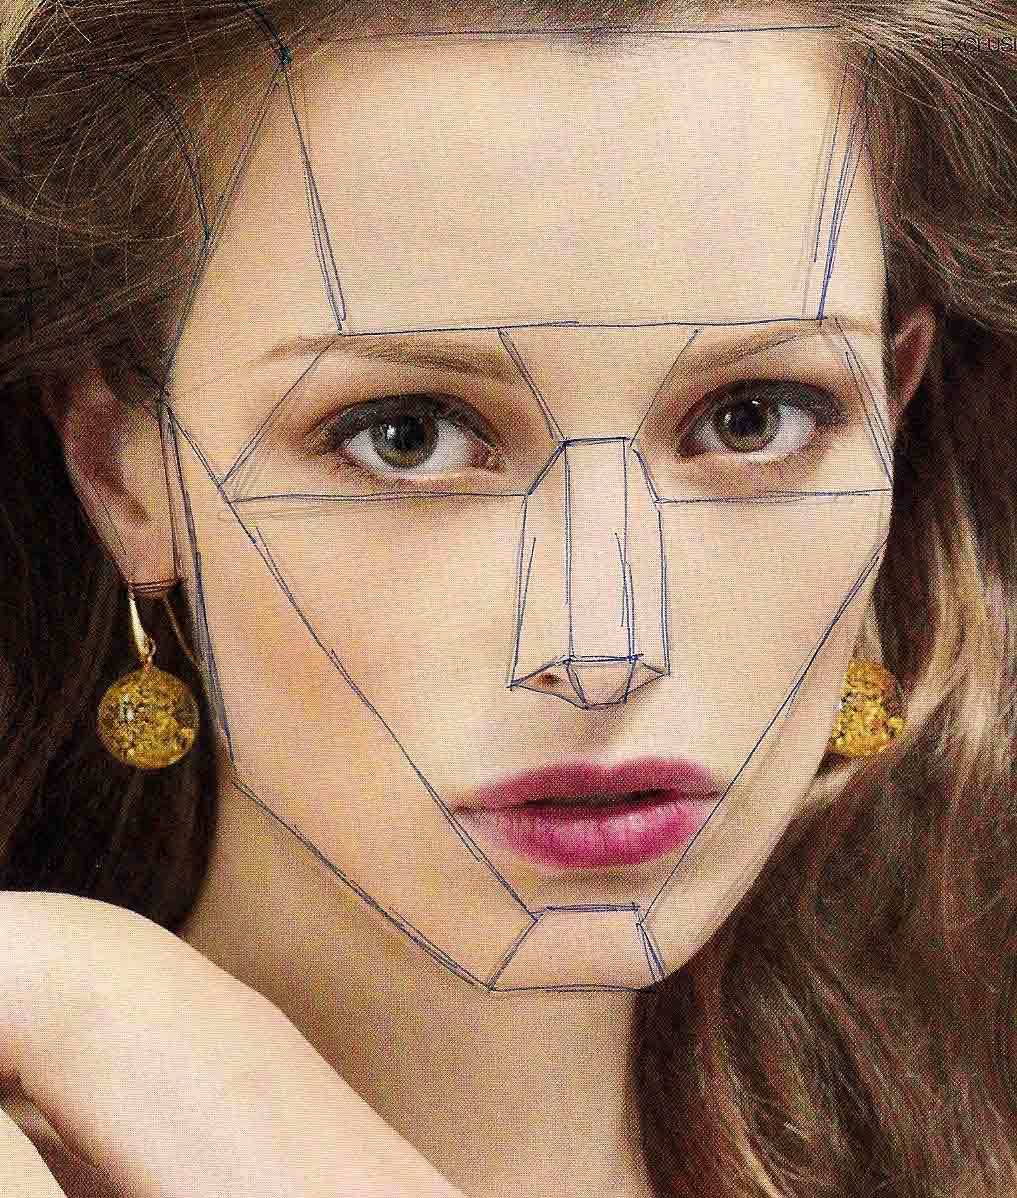
If you want more shading practice, try drawing paper curls, like Melissa Eaton's here (as seen in photo 3). I really like this, because it just feels very fresh after scrolling through pages upon pages of exercises where you sketch boxes and shapes with hard edges and lines. Yes, it's a tad trickier than those shapes, but look at that elegance! If you have trouble finding or making paper curls, you can do the exercise with wide ribbon as well, or any other curly-ish object.
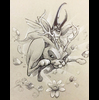
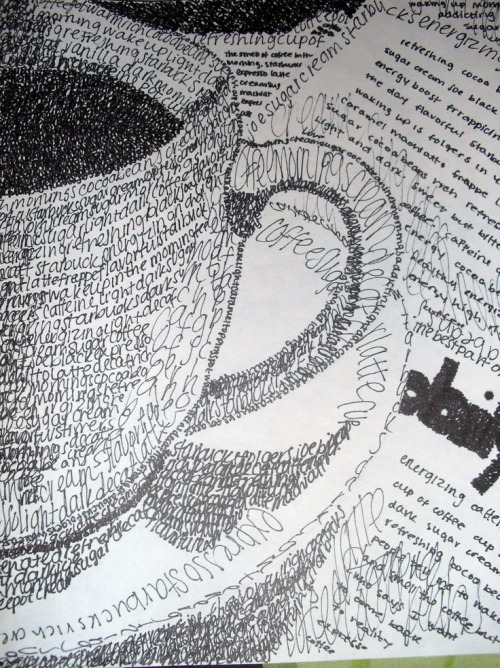
Still on about shading? Want to add texture to your art as well? I challenge you to write your next drawing (See Image #4) I've actually done this project before for myself, and have completed entire portraits by repetitively writing and rewriting the same words (usually whatever the drawing is of). The effect can be really interesting when you choose to layer the words enough to really get a good stack of values going.
The final project I suggest you look into is keeping up a daily idea journal, or sketchbook. There are artists whose entire sketchbooks are considered works of art-- and keeping a sketchbook with you at all times will encourage you to draw whenever and wherever the inspiration strikes.
If you're like me, you're always looking for new projects to try and new techniques to try out. Hopefully you feel inspired to crack open your drawing pad and start sketching something brilliant!